7 Tips for Pumpkin Perfection
We love October, This is our favourite time of year (except Christmas of course) the trees start to glow orange, we get to dig out our jumpers, look forward to bonfire night, crisp Mornings, lots and lots of hot chocolate. Well you get the idea... it’s a cosy season!
Let’s Talk Pumpkin Perfection...
Here are some things that helped me prolong the life of my beautiful (to me) carved pumpkins. I and so many of you will spend at least an hour carving your pumpkins so surely you want to make them last as long as they can, so your talent is not wasted.
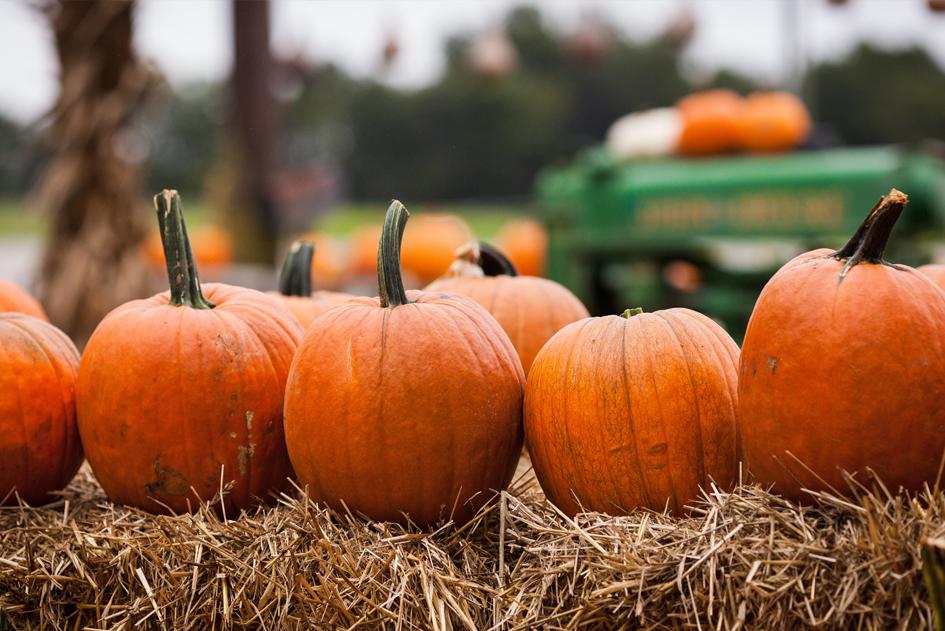
Tip 1: Choosing the right Pumpkin
First things first... when choosing your pumpkin, you are going to want to make sure it has a stem. It will act as a handle/something to hold onto whilst carving.

Secondly, try not do not discount the quirky shaped (non orange) pumpkins of the world. You often see the perfectly round orange one on every street, why not be a little different and go for that oddly shaped yellowish one. They are sometimes easier to work with and stand out in a crowd.
Tip 2: Early Bird catches the Pumpkin
Can't wait to get started? If you are like me and as soon as the pumpkins arrive in the shops you give in and buy one (or two...or three) couldn't help but carve it as soon as you get home, you're probably thinking "great, now this won’t make it to Halloween..." we have the answer! Simply pop it in the fridge or freezer, if it’s not too big of course.

The pumpkin should only be in the freezer for a week max – This allows the maturing stage to slow down less oxidation means it won’t get all mushy or dry as quickly as it would being left out.
(P.s... If it is too big to put in the freezer then tip no. 3 has you covered.)
Tip 3: Spritz Spritz
Have you guessed it? You will need a spray bottle with water in it 😊
When you have carved your pumpkin, you will need to make sure it stays moist (If kept in the house) as keeping it moist will prolong the life of your creation!
If the pumpkin is kept outside, you probably wont need to spray it, but you may want to check for slugs. Slugs are out to get pumpkins. I don't like slugs.
Tip 4: Channel your inner Picasso
Whether you are a pro or just starting you carving career, drawing on your design beforehand is the key to a perfect pumpkin and I shall tell you why...
Freehand (or would freeknife be more accurate in this case?) can look scruffy, rushed, and unfinished. Like a tattoo, it's better to draw the design on so you know all the elements fit onto the curves of the pumpkin.

You do not want to do one spooky eye and realise you can’t fit the other eye and mouth on! (I have done this before, can you tell I love this time of year yet?!) Although that would make for an interesting pumpkin design. In fact, you do you.
Tip 5: Your Perfect Pumpkin Toolbox
You may or may not have heard of pumpkin tool kits. I only discovered them last year and it has made my carving life so much easier. It’s also a safer option for kids.
You can get special tool kits from anywhere and the kits normally consist of a little knife, scoop and various shapes such as triangles (to shape the eyes for example)
The kits are really inexpensive, more child friendly than a kitchen knife and easier to carve with. (Plus, bonus points... it saves you ruining/blunting your lovely kitchen knives!)
Tip 6: Actually, forget Picasso...Let's Go Banksy
Maybe carving is not your thing, maybe you are looking for a more 'instagramable' look. If so, this tip is for you! The clue is in the name, just spray paint it. It’s a lot of fun and will have you feeling like the DIY Insta queen you were born to be. This method allows you to put a cute message on a nice coloured background.

For example, you could spray paint it black with white writing (using a sharpie) saying ‘TRICK OR TREAT’ - I have seen tonnes of photo inspo on google and will be giving it a go myself – Click here to check our Instagram for our creations.
Tip 7: The joys of Modern Technology
Why not use battery powered tealights instead of the traditional tealights of the past? There are many benefits to using battery tealights:
- It doesn’t dry the pumpkin out
- They stay lit for longer
- Safer, as there is no open flame to worry about
- More convenient to leave on (you can leave the house and leave them on!)
- They are child friendly, even your littlens can get involved.
- No chance of your house smelling of burnt pumpkin!
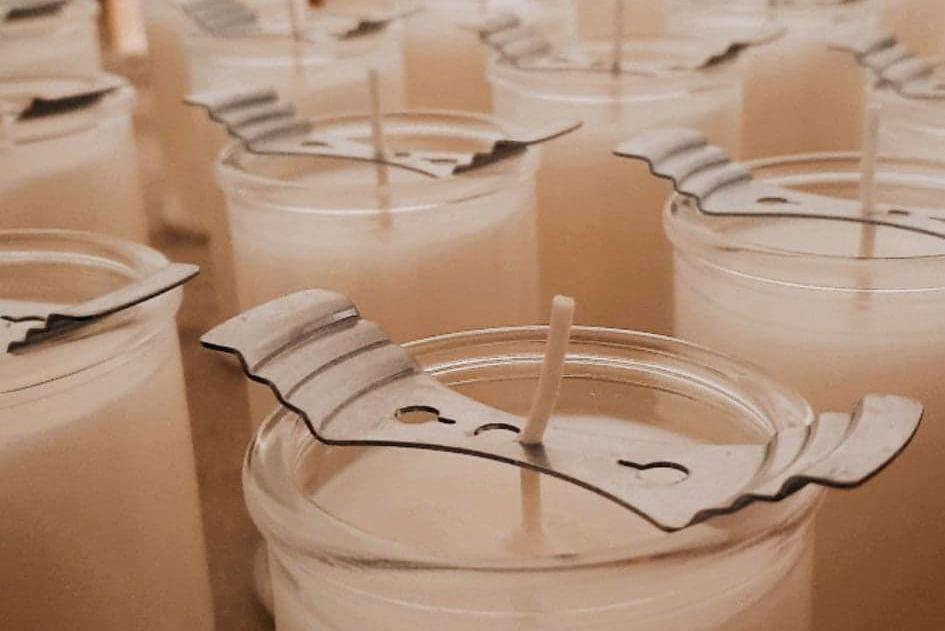
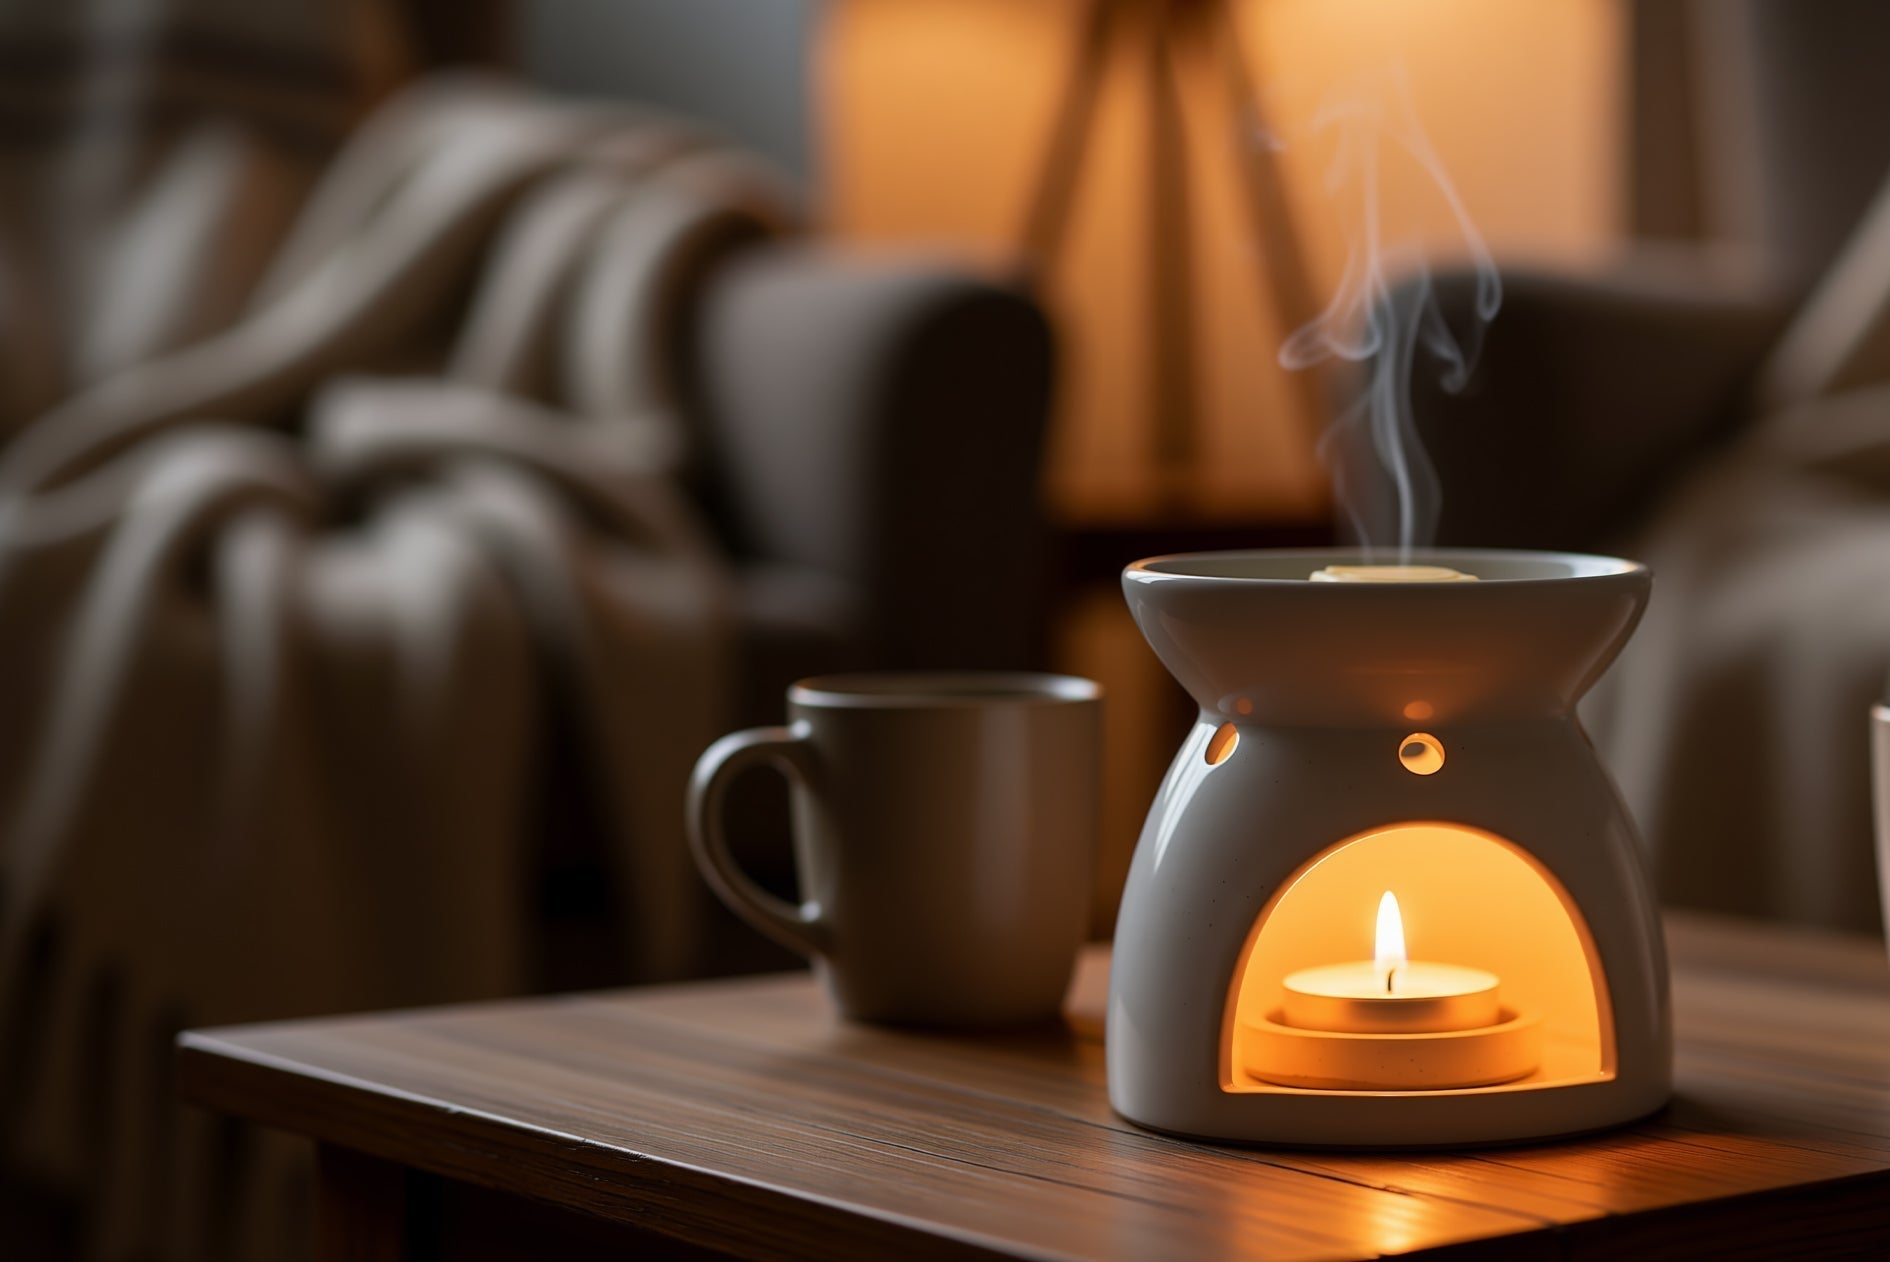
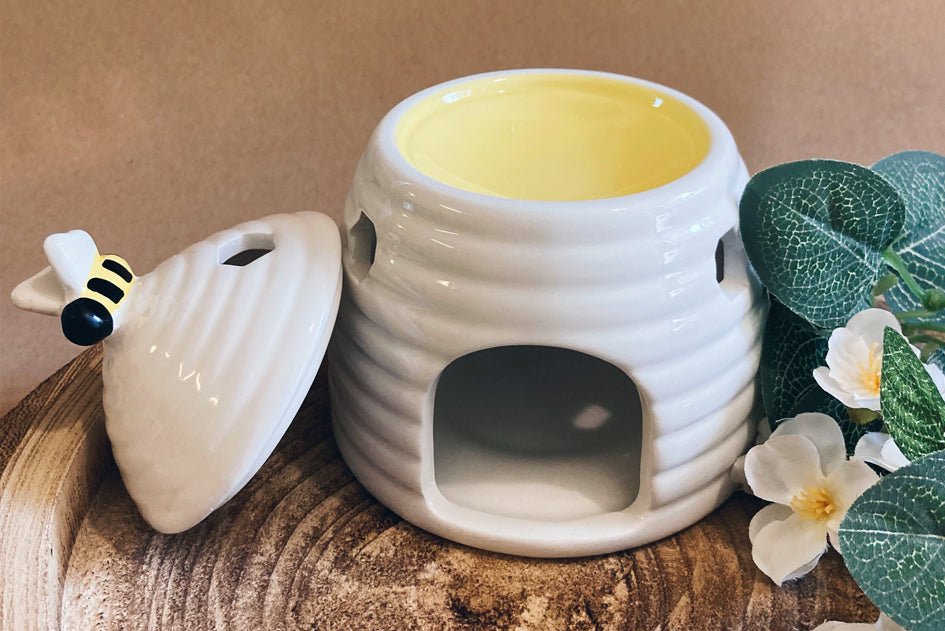
Bonus Tip:
To really get in the pumpkin carving mood, why not burn our delicious 'Pumpkin Spice' wax melts, and make your home smell amazing.

We really hope you enjoyed reading about how crazy I am about pumpkins (I know I probably need to find a new hobby!) and can find something you can take away in your own quest for pumpkin perfection. Please comment below and let us know if you have any other tips for us. 🥰
Happy Halloween lovelies!
Lois x

Comments