Step-by-Step Guide to Making Your Own Best Wax Melts at Home
Creating your own wax melts at home can be a fun and rewarding project. Not only will you enjoy the process, but you'll also be able to customise the scent to perfectly suit your preferences. In this guide, we'll explore each step in crafting what might just become your best wax melts ever!
Table of Contents
- Table of Contents
- Ingredients and Equipment Needed
- Step 1: Melting the Wax
- Step 2: Adding Colour and Scent
- Step 3: Pouring into Moulds
- Step 4: Removing and Storing
- Enjoying Your Creation
- Recommended Products
- FAQs
For those who love strong scented wax melts, making your own is the perfect opportunity to infuse your favourite scents at the desired intensity. So, let's dive in!
Ingredients and Equipment Needed
- Wax: Either soy wax or beeswax works well for wax melts.
- Fragrance oils: Choose your preferred scents.
- Dye: Optional, if you wish to colour your wax melts.
- Silicone moulds: These come in various shapes and sizes.
- Double boiler: For melting the wax gently.
- Thermometer: To ensure the wax doesn't overheat.
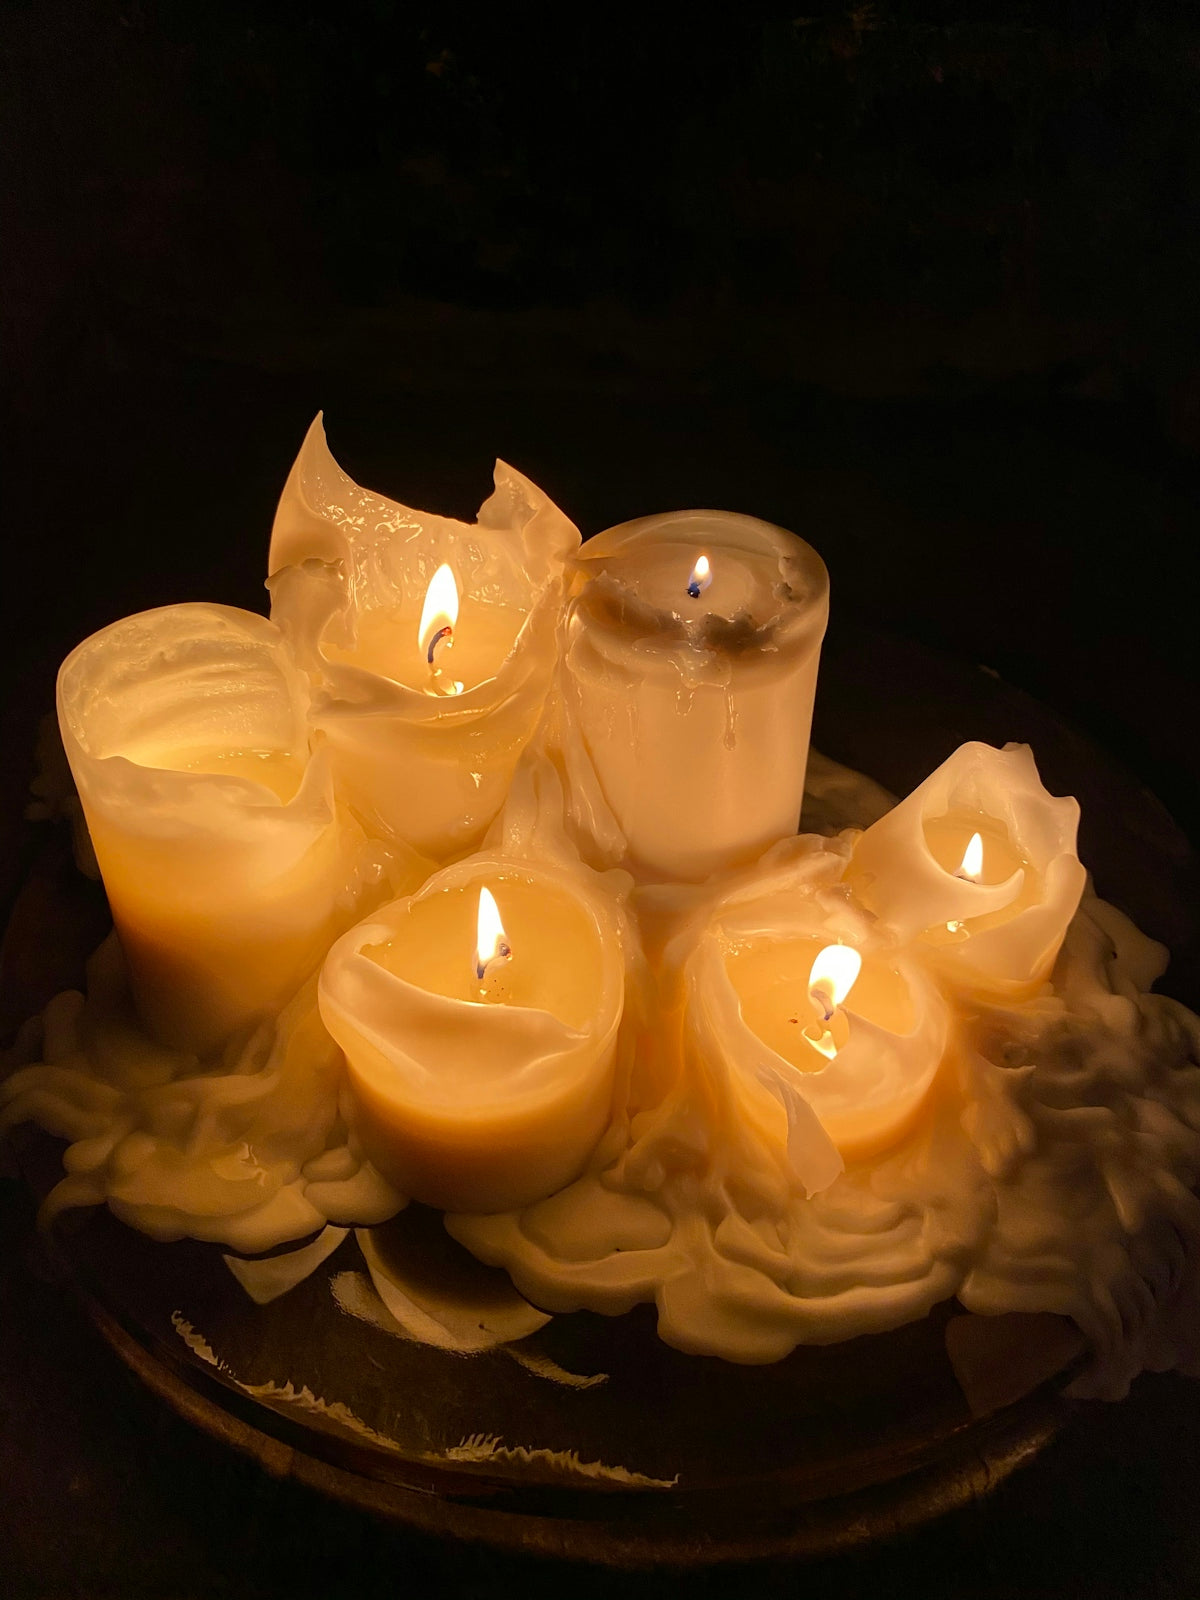
Step 1: Melting the Wax
Begin by melting your chosen wax in a double boiler. Monitor the temperature closely, aiming for around 170°F (77°C). Using the thermometer is crucial to avoid overheating, which could impact scent throw and wax quality.
Step 2: Adding Colour and Scent
Once the wax is fully melted, it’s time to add dye and fragrance oils. Make sure to use dye that's intended for candles or wax melts. Stir in the fragrance oils thoroughly — about 10% of the total weight of the wax is a good rule of thumb for a strong scented finish.
Step 3: Pouring into Moulds
Carefully pour the wax mixture into your silicone moulds. Ensure the moulds are on a level surface to prevent spills and uneven results. Leave them to cool and harden completely, which usually takes a few hours.
Step 4: Removing and Storing
Once set, pop the wax melts out of the moulds. Store them in a cool, dry place to preserve the scent. Keeping them in an airtight container will help maintain their fragrance longer.
Enjoying Your Creation
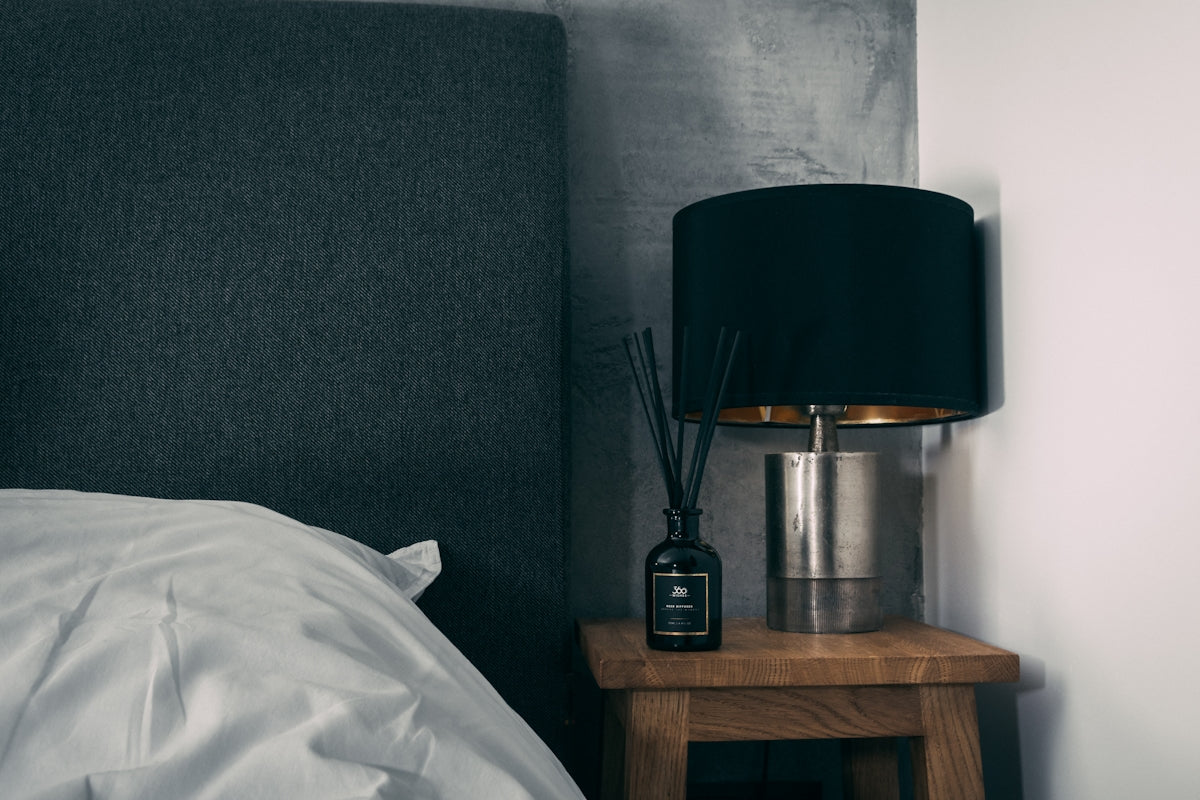
Now that you have crafted your own wax melts, it's time to enjoy them. Simply place them in your wax warmer and let the delightful aroma fill your home. If you're curious about the best practices for maintaining your wax melts and burners, be sure to check out our detailed guide here.
For those who prefer to explore a variety of scents without making them, our collection of wax melts offers a broad selection of options. Discover our Wax Melts collection for something to suit every mood and season.
Recommended Products

If you're looking for high-quality, strong scented wax melts that are ready to use, you might enjoy these selections:
- Sweet Selection Wax Melts - 16 Pack
- Fresh Selection Wax Melts - 16 Pack
- Wood Sage & Sea Salt Wax Melts - 16 Pack
If you have any questions about wax melts or wish to learn more about them, our article on Common Questions Answered: All About Strong Scented Wax Melts is a great resource.
For more insights and products, visit our website for a delightful selection of premium quality wax melts and more. Enjoy the satisfaction of either creating or choosing the perfect scent for your home environment.
FAQs
What are wax melts and how do they work?
Wax melts are small, solid chunks of fragrant wax that are melted in a warmer to release their scent into the air. They usually come in various shapes and sizes and can be made from different types of wax, including paraffin, soy, or beeswax.
What ingredients do I need to make my own wax melts?
To make wax melts at home, you'll typically need wax (such as soy or paraffin), fragrance oils, and optionally, colour dyes. You might also need a melting pot or double boiler for melting the wax, and moulds to shape your melts.
How do I choose the right fragrance for my wax melts?
When selecting a fragrance, consider the mood you want to create in your home. Look for fragrance oils that are specifically designed for wax melts to ensure they stick well and scent your space effectively. You can also experiment with blending different scents for a unique aroma.
Can I customise the colour of my wax melts?
Yes, you can customise the colour of your wax melts by adding colour dyes specifically meant for wax. Be sure to add these dyes in small amounts and mix thoroughly to achieve your desired shade without overwhelming the wax.
How long do homemade wax melts last?
Homemade wax melts can last for several uses, depending on the size and composition of the melts as well as the quality of the fragrance oils used. Generally, you can expect them to provide scent for about 4-8 hours per use before needing to be replaced.
Is it safe to use essential oils in my wax melts?
You can use essential oils in your wax melts, but it's essential to check the safety of each particular oil with the wax type. Not all essential oils withstand heat the same way, so ensure they're suitable for melting without losing their fragrance or becoming harmful.
How can I store my homemade wax melts?
Store your homemade wax melts in a cool, dry place away from direct sunlight to preserve their scent and quality. Using airtight containers can help prevent moisture absorption and keep the fragrance potent for longer.
What tools do I need to get started with making wax melts?
You will need a melting pot or double boiler for melting the wax, moulds for shaping your melts, a thermometer to monitor the temperature, stirring utensils, and a scale for measuring ingredients. Optional tools might include a pipette for adding fragrance oils.
How do I clean up after making wax melts?
To clean up, allow any leftover wax to solidify, then carefully remove it from surfaces. You can use paper towels to wipe down any excess wax from your equipment. For tough residue, you can use warm soapy water or rubbing alcohol on your utensils and melting pot.


Comments